
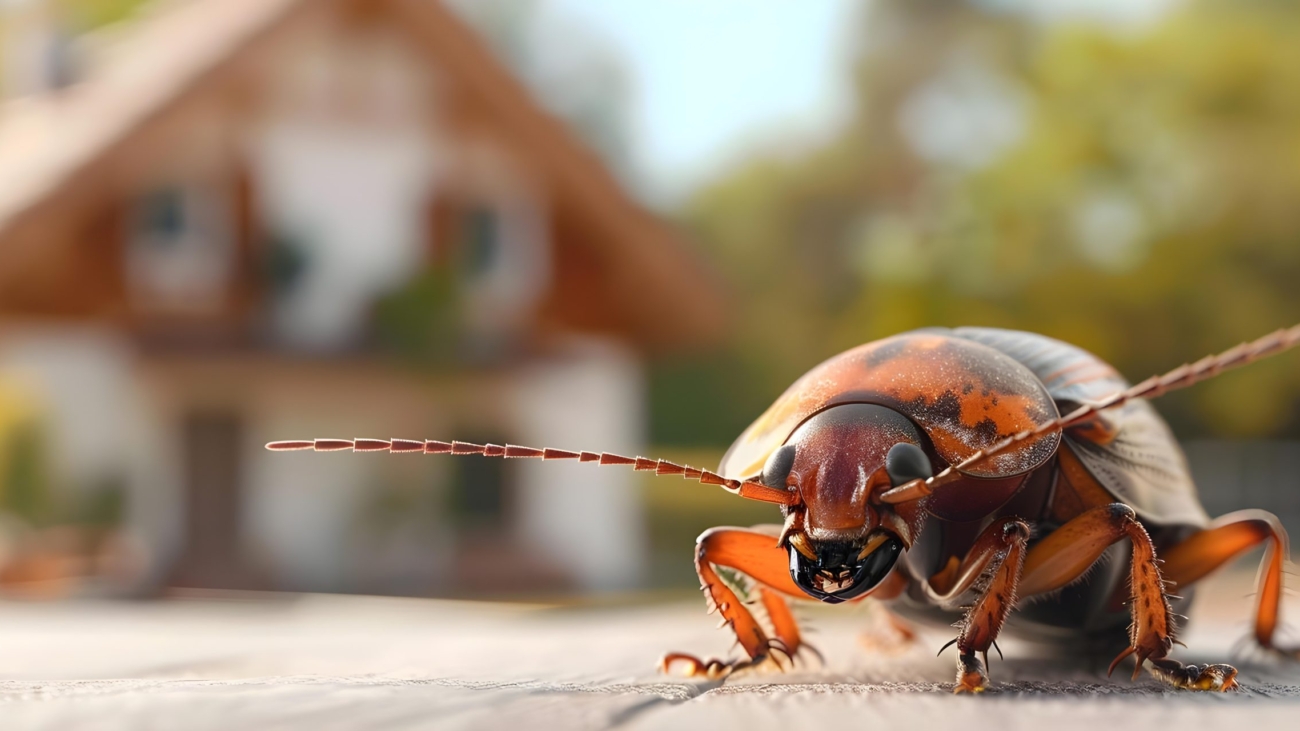
Moving out of a rental property can be stressful enough without discovering an unwelcome pest problem along the way. From ants in the kitchen to rodents hiding behind appliances, unwanted visitors can complicate your final inspection and potentially lead to disputes over cleaning costs, pest control, or your security deposit.
The good news? A little preparation can go a long way toward preventing these problems. By recognizing early warning signs, maintaining a clean living space, and communicating with your landlord, you can make your move-out process considerably smoother.
Whether you’re preparing to hand over your keys or simply want to keep your rental in good condition, here’s how to manage pest concerns before they turn into a bigger headache.
Why Pest Control Matters Before Moving Out
Pest problems aren’t just unpleasant. Depending on the circumstances and the terms of your lease, they can also become a source of disagreement between tenants and landlords.
Imagine completing your move, only to receive a message claiming that you left behind an infestation. You could find yourself discussing pest control expenses, cleaning responsibilities, or deductions from your security deposit. In some cases, unresolved disputes may also complicate future rental applications.
However, responsibility for an infestation isn’t always straightforward. Pests can enter through structural gaps, neighboring properties, shared spaces, or conditions that existed before a tenant moved in. Your lease and local tenancy laws may determine who is responsible for addressing the issue.
Taking reasonable precautions before moving out helps you protect your interests and leave the property in good condition for the next occupant. It also provides an opportunity to identify problems early, when they may be easier and less expensive to resolve.
Recognize the Warning Signs of a Pest Problem
The first step toward preventing an infestation is knowing what to look for. Even a small clue can indicate that unwanted visitors have found their way into your home.
Droppings and unusual residue
Small droppings near cupboards, behind appliances, inside drawers, or along walls may indicate the presence of rodents or insects. Their appearance varies depending on the species, so avoid relying on appearance alone to identify the pest. If you discover suspicious residue, photograph it and clean the area safely.
Unusual smells
Persistent musty, stale, or unpleasant odors can sometimes point to hidden pest activity. Accumulated droppings, nesting materials, decaying organic matter, or a dead animal in an inaccessible area may be responsible. If an odor persists despite regular cleaning, investigate the source rather than simply masking it.
Gnaw marks and damaged belongings
Chewed food packaging, damaged furniture, shredded materials, or marks on cables can suggest rodent activity. Because rodents continually gnaw to maintain their teeth, they may damage a variety of household items. Damaged electrical wiring is particularly concerning and should be assessed promptly.
Scratching and movement at night
Scratching, scurrying, or squeaking behind walls, beneath floors, or inside ceilings may indicate that animals are moving through concealed spaces. Although these sounds can have other explanations, repeated unexplained noises deserve attention.
Visible insects or other pests
Cockroaches, ants, fleas, bedbugs, and other pests may appear in different parts of a property. Look around food storage areas, bathrooms, mattresses, furniture, and places where moisture accumulates. Repeated sightings or increasing activity may indicate a larger problem.
Before your final inspection, walk through the property carefully and check areas that are easy to overlook, including storage cupboards, utility spaces, and the areas behind large appliances. If you find evidence of an infestation, address it before moving day whenever possible.
If the problem appears extensive or difficult to identify, consider contacting a qualified pest control professional for an assessment.
Keep Your Rental Clean and Less Attractive to Pests
A clean home isn’t automatically pest-proof, but good housekeeping removes many of the conditions that allow common household pests to thrive.
Store food securely. Keep pantry items in sealed containers, avoid leaving uncovered food on countertops, and clean up crumbs and spills promptly. Pay particular attention to pet food, which can also attract unwanted visitors.
Manage household waste. Use bins with secure lids and empty them regularly. Clean the inside of bins when necessary, and avoid leaving food waste exposed overnight.
Control moisture. Leaking taps, damp cupboards, standing water, and poorly ventilated bathrooms can create favorable conditions for certain pests. Report plumbing problems promptly and keep vulnerable areas as dry as practical.
Clean overlooked spaces. Under furniture, behind appliances, inside cupboards, and around kitchen equipment are common places for crumbs and debris to accumulate. Regularly cleaning these areas helps you spot potential problems before they become more serious.
Maintain outdoor areas. If your rental includes a garden or patio, keep it reasonably tidy. Remove fallen fruit, clear accumulated debris, trim excessive vegetation where appropriate, and avoid storing items directly against exterior walls. These measures can reduce hiding places and help discourage pests from approaching the building.
A consistent cleaning routine is generally more effective than waiting until the final few days of your tenancy to tackle everything at once.
Seal Entry Points Before Pests Find Them
Even a spotless home can attract pests if there are easy ways for them to get inside. Small openings around windows, doors, pipes, and foundations can provide access to insects and rodents.
Check for gaps around utility lines, damaged window screens, loose door seals, and cracks around exterior walls. Pay attention to areas where pipes enter kitchens, bathrooms, and laundry rooms.
For minor gaps, suitable caulk or weatherstripping may help improve the seal. Larger openings or suspected rodent entry points may require more durable materials, such as metal mesh, and should be repaired appropriately.
Avoid using temporary materials that are unsuitable for the location, especially around electrical wiring, plumbing, or heat-producing equipment. If the damage involves structural elements or shared building infrastructure, notify your landlord rather than attempting a repair that falls outside your responsibilities.
It’s also worth checking whether doors and windows close properly. Repairing damaged screens and improving seals can reduce the likelihood of insects entering while allowing you to ventilate the property.
The principle is simple: preventing access is often easier than dealing with an established infestation.
Understand Your Lease and Your Responsibilities
Before arranging pest control or paying for treatment, review your rental agreement. Look for provisions covering pest management, property maintenance, cleaning requirements, and responsibility for damage.
The allocation of responsibility can depend on several factors, including the type of pest, the cause of the infestation, the condition of the property at the start of the tenancy, and the applicable local laws.
For example, a problem caused by a structural defect may be handled differently from one associated with food waste or poor housekeeping. However, these situations aren’t always clear-cut, and responsibility should not be assumed without examining the circumstances.
If you’re uncertain about your obligations, consult your landlord, property manager, or a local tenancy advice service.
Understanding the rules before moving day can help you avoid unnecessary expenses and reduce the risk of disagreements during the final inspection.
What to Do When You Discover an Infestation
Finding pests in your rental doesn’t necessarily mean your move will be derailed. Acting quickly and keeping a clear record of the problem can make it easier to resolve.
Step 1: Document What You Find
Take clear photographs or videos showing the affected areas, visible pests, damage, and any signs of activity. Record when you first noticed the problem and whether it appears to be getting worse.
Keep copies of relevant messages, maintenance requests, inspection reports, and any previous correspondence about pest activity. If the issue existed before you moved in, check your original condition report and any photographs you took at the beginning of the tenancy.
This documentation can help establish a timeline and provide useful information when discussing responsibility.
Step 2: Notify Your Landlord or Property Manager
Report the issue as soon as reasonably possible. Explain what you’ve observed, where the activity is occurring, and whether there is any visible damage. Include your supporting photographs and ask what steps should be taken next.
Prompt communication gives the landlord an opportunity to investigate and arrange appropriate treatment when necessary. It also creates a written record showing that you raised the concern rather than leaving it unaddressed.
If the problem involves damaged wiring, a potentially dangerous animal, or another immediate hazard, prioritize safety and seek appropriate professional assistance.
Step 3: Choose an Appropriate Solution
For minor problems, basic preventive measures may be sufficient. Depending on the pest, these might include removing food sources, improving storage, cleaning affected areas, or using suitable traps according to the manufacturer’s instructions.
However, home remedies such as vinegar or essential oils should not be treated as reliable solutions for every pest. Their effectiveness varies, and some oils can be harmful to pets or irritating to people. Avoid mixing cleaning products or applying substances where children or animals could be exposed.
For persistent activity, suspected bedbugs, substantial rodent problems, or widespread infestations, professional pest control is generally the more appropriate option.
A qualified specialist can help identify the pest, determine the likely source, and recommend treatment suited to the property and the severity of the problem.
Step 4: Follow Up Before Moving Day
After treatment or repairs, check whether the problem has improved and follow any instructions provided by the pest control professional. Some treatments require repeat visits or specific cleaning precautions.
Before handing over the property, complete a final walkthrough. Check the areas where you originally noticed activity, confirm that agreed maintenance has been addressed, and retain relevant receipts or treatment records.
If the issue remains unresolved, communicate this in writing and clarify the next steps with your landlord or property manager.
When Is It Worth Calling a Professional?
Not every pest sighting requires specialist intervention, but some situations call for more than routine cleaning or store-bought products.
Consider professional help if:
- You repeatedly see pests despite taking preventive measures.
- You discover extensive droppings, nesting materials, or damage.
- You suspect bedbugs, termites, or another pest that requires specialized treatment.
- Rodents appear to be entering through walls, ceilings, or structural openings.
- You cannot identify the source of the problem or access the affected area safely.
Professional treatment may require an initial inspection, follow-up visits, or repairs to prevent pests from returning. Discuss the scope of work and any associated costs in advance, and clarify who is responsible for arranging and paying for the service under your lease and local regulations.
Getting the right help early can prevent a small issue from becoming a more complicated problem just as you’re preparing to leave.
Final Thoughts: Make Your Move Without the Pest-Related Stress
Moving out should be about starting your next chapter, not worrying about what might be hiding behind a cupboard or under a floorboard. Although pest problems can be frustrating, a proactive approach can make them much easier to manage.
Keep your rental clean, inspect overlooked areas, seal appropriate entry points, and report suspicious activity promptly. Just as importantly, understand your lease obligations and document any issues that arise before your final inspection.
If pests become difficult to manage, don’t hesitate to seek professional advice. A suitable treatment plan, clear communication, and careful preparation can help you resolve concerns before handing over the keys.
Ultimately, leaving a rental in good condition benefits both you and the next occupant. With a little planning and attention to detail, you can move forward with greater confidence and fewer unwelcome surprises.